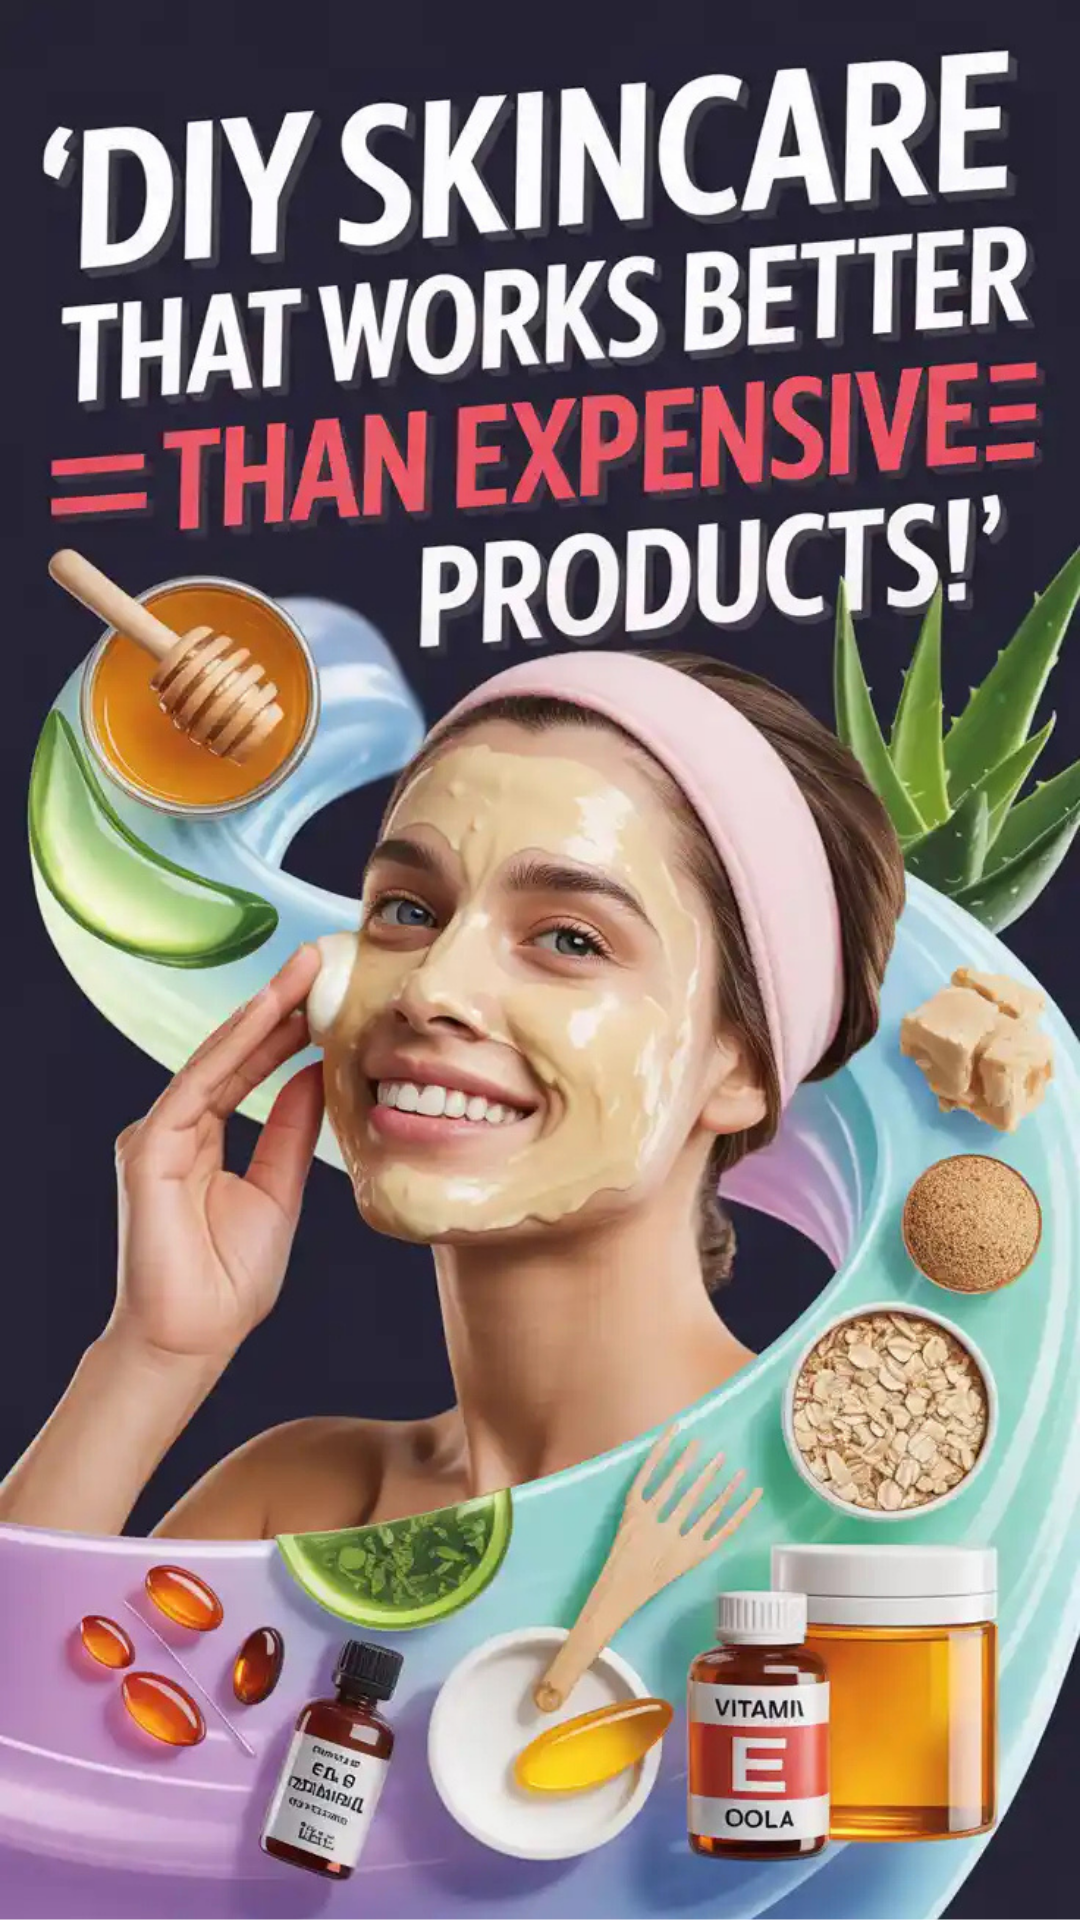
DIY skincare can outperform pricey jars when you use the right basics. In minutes, simple ingredients boost hydration, soften texture, and protect your barrier. This evidence-aware guide shows safe recipes, step-by-step routines, and smart habits that deliver glow without hype. Save money and still see results.
- Why Simple DIY Skincare Beats Pricey Hype
- Build Your Core Routine: Cleanse, Moisturize, Protect
- Pro-Level Hydration: Kitchen-Backed Masks and Mists
- Texture & Tone: Gentle Exfoliation You Can Do Safely
- Targeted Extras: Breakouts, Redness, Sensitivity
- Tools, Timings, and Massage Techniques
- Safety, Patch Testing, and When to See a Pro
Why Simple DIY Skincare Beats Pricey Hype
Luxury packaging doesn’t guarantee better skin. Your skin responds to functions—hydration, support, gentle renewal, and protection—not to marketing. A simple, smart routine made with basic, well-tolerated ingredients can outperform complicated lineups because it removes irritation and builds consistency. That’s the real “better than expensive” secret.
What actually changes skin
Skin looks smoother and brighter when the outer layer is evenly hydrated, when the barrier keeps water in, and when light reflects from a calm, uniform surface. Humectants draw in water. Emollients fill tiny gaps so the surface lies flat. Occlusives slow water loss. Low-grade, regular exfoliation keeps dead cells from piling up. Those are the levers that matter day to day.
Marketing vs. mechanism
A jar can boast rare botanicals, but the base still does the heavy lifting. If a product irritates you, any potential gains vanish. DIY lets you control texture, strength, and fragrance-free simplicity. It also helps you keep the routine short enough to repeat every day, which is where real results come from.
Ingredient families that deliver
Humectants: glycerin, aloe gel, honey (in masks), and urea in low strengths attract water.
Emollients: squalane, jojoba, light seed oils, and ceramide-compatible bases smooth feel.
Occlusives: petrolatum, shea butter, and waxes slow evaporation.
Gentle exfoliants: lactic acid from cultured dairy masks, soft washcloths, and enzyme-rich fruits used cautiously.
Where DIY shines—and where it doesn’t
It shines in cleansers, masks, mists, and basic moisturizers using preserved bases. It does not shine in sunscreen (never DIY SPF), potent acids, or injectables. Use DIY for comfort and glow, store-bought for SPF and clearly labeled actives.
Consistency beats concentration
A calm, repeated routine outperforms a heroic, once-a-week session. Your skin prefers “a little, often” to “a lot, rarely.” DIY makes repeatable care affordable, so you stick with it.
Fragrance and essential oils caution
Many faces react to perfumes and concentrated oils. Skip fragrance in leave-on formulas. If you enjoy scent, keep it in wash-off products and low.
Build Your Core Routine: Cleanse, Moisturize, Protect
Most of your glow comes from a morning and night rhythm you can keep on tired days. The simplest version fits into six minutes and requires no exotic tools.
Morning basics that perform
Cleanse lightly if you’re oily or sweaty; otherwise a water rinse can suffice. Apply a hydrating layer on damp skin, then seal with a simple moisturizer. Finish with a broad-spectrum sunscreen. Sunscreen is your daily “anti-aging” and even-tone guardian—always store-bought, tested, and used generously.
Night routine that repairs
Remove the day completely: sunscreen, pollutants, sweat. A gentle cleanse plus a hydrating layer and a richer seal help the barrier reset. If you use a mild over-the-counter retinoid or a niacinamide serum, this is the time. Keep actives minimal when trying DIY masks—don’t stack too many “doing” steps.
The 6 steps in 6 minutes (numbered)
- Wash hands.
- Cleanse face with a gentle product and lukewarm water; pat until damp.
- Apply a hydrating layer: a few drops of glycerin-in-water mist or aloe gel.
- Seal with a moisturizer that suits your season.
- In the morning only, apply sunscreen as the last step.
- At night, finish with a fingertip of petrolatum on dry patches if needed.
Choosing a cleanser
Pick a fragrance-free, low-foam cleanser. If you prefer DIY, a quick oat soak works as a mild, wash-off option: soak finely ground oats in warm water, strain the milky liquid, and use it as a short, splash-on cleanse before your store-bought wash or as a morning rinse. It calms without stripping.
Moisturizer made smarter (without unsafe chemistry)
Enrich a plain, preserved store-bought cream with a few drops of squalane in your palm before applying. This is “fresh mixing”—safer than homebrewing whole jars. It adjusts richness without destabilizing a product or risking contamination.
Why “protect” must be store-bought
Sunscreen involves complex testing. DIY sunscreen is unreliable and can lead to burns and pigmentation. Keep DIY out of SPF; invest in a formula you’ll wear daily.
Water-only mornings?
If your night routine was simple and your skin isn’t oily, water-only mornings can work. Preserve balance: a brief rinse, hydrating layer, moisturizer if needed, and SPF.
Pro-Level Hydration: Kitchen-Backed Masks and Mists
Short, soothing masks and same-day mists can transform look and feel quickly. Use clean tools, patch test, and make small, fresh batches.
Honey cushion mask (soothing glow)
Mix 1 tsp honey with 1 tsp aloe gel and 1 tsp cool, strong green tea. Spread a thin layer on damp skin; leave for 5–8 minutes; mist with water halfway so it stays slippery; rinse. Honey coats and comforts, aloe hydrates, tea adds calm. Do not use on infants; avoid if allergic to bee products.
Oat gel soother (for redness and post-wind days)
Whisk 1 tbsp very finely ground oats into 3 tbsp warm water; let it thicken for 5 minutes. Apply the gel, leave 5–10 minutes, then rinse. This cushions sensitive faces and pairs well after sun and wind exposure (but never replaces SPF).
Yogurt-lactic “polish” (gentle, buffered)
Use plain, unsweetened yogurt. Apply a thin layer for 3–5 minutes, then rinse gently. Lactic acid is buffered by the dairy, making it milder than bottled acids. Skip if dairy irritates you. Avoid lips and eye area. Keep sessions brief to avoid stinging.
Hydration mist you can make safely for same-day use
Steep a green tea bag in ½ cup hot water for 5 minutes; cool fully; stir in ¼ tsp glycerin; pour into a clean spray bottle. Use within 24 hours and refrigerate between uses. Spray lightly on a clean face before moisturizer. Discard leftovers the next day to avoid contamination.
When to mask
Mask after cleansing, on damp skin, and before moisturizer. Keep it gentle on nights you use actives. If your face feels tingly or hot, rinse early and switch to the oat gel next time.
What not to mix
Skip lemon juice, vinegar, baking soda, salt, sugar scrubs, raw egg, and undiluted essential oils on your face. These common “hacks” can burn, scratch, or sensitize skin and can worsen pigmentation.
Texture & Tone: Gentle Exfoliation You Can Do Safely
Softer texture and brighter tone come from regular, gentle renewal—not from harsh, occasional scrubs. Aim for comfort you can repeat.
Meet your options
Washcloth micro-exfoliation: after cleansing, glide a soft, damp cloth in short, light passes once or twice weekly.
Yogurt-lactic mask: 3–5 minutes, once weekly.
Enzyme option: papaya mash is often suggested, but raw fruit enzymes can be unpredictable. If you try it, keep it extremely brief (2–3 minutes), patch test, and stop if you tingle. Many people do better skipping it entirely and staying with yogurt.
A calm weekly plan
Pick one gentle method. For example: week plan includes a Tuesday yogurt mask and a Saturday washcloth polish. The other days focus on hydration and sealing. Keeping renewal light maintains glow without redness.
Pigmentation and sun reality
Any exfoliation increases light sensitivity. Protect with sunscreen daily. If you’re dealing with post-inflammatory marks, prioritize SPF, gentle hydration, and avoiding new irritation. Slow and steady wins with tone.
Common mistakes to avoid
Stacking multiple acids and scrubs in one day, scrubbing until you squeak, and “chasing” flakes with more exfoliation. If you see flakes, you’re already at your limit. Add moisture, not more friction.
If you overdo it
Pause masks and exfoliation for a week. Return to the oat gel, a bland moisturizer, and SPF. When comfort returns, restart with shorter sessions.
Targeted Extras: Breakouts, Redness, Sensitivity
DIY can support comfort while you lean on proven, clearly labeled treatments for specific issues. Treat the cause simply and avoid harsh folklore.
Breakouts: practical, gentle steps
Cleanse softly twice daily. Dab a thin honey layer on healed, non-open areas for 10 minutes as a weekly calming step; rinse. For active acne treatment, consider a store-bought, clearly labeled product with benzoyl peroxide or adapalene at night—these are evidence-based and affordable. Don’t mix toothpaste, lemon, or undiluted oils on pimples; they burn and can scar.
Clay as an occasional helper
If you get oily in the T-zone, a once-weekly, short clay mask can absorb excess oil. Mix clay powder with water to a yogurt texture, apply to T-zone only, and rinse as soon as it dries at the edges. Follow with hydration; don’t let it crack.
Redness and reactive skin
Use the oat gel soother and cooled green tea compresses (press a soaked cotton pad for one minute, don’t rub). Skip spicy masks and strong acids. A store-bought 2–3% azelaic acid or 2–4% niacinamide can help many people, but sensitive faces should introduce one at a time and wait a week between changes. If you flush easily, keep room temperature mild and avoid hot water on your face.
Sensitivity and barrier repair
The barrier likes simple. Limit products for two weeks: gentle cleanse, hydrating layer, plain moisturizer, SPF. Add a drop of squalane to dry zones at night. If you tolerate petrolatum, a thin “slug” over cheekbones in cold weather can reduce water loss. Always patch test first.
Ingrown hairs and texture on body zones
For body, a warm compress followed by gentle washcloth exfoliation in the shower can help free trapped hairs without picking. Moisturize immediately after. Don’t use facial-strength acids on freshly shaved skin.
When to involve a clinician for skin issues
Frequent cystic breakouts, rapidly spreading rashes, severe itching, or sudden pigment changes warrant professional input. DIY is for comfort; medical problems deserve medical care.
Tools, Timings, and Massage Techniques
Technique often matters more than ingredients. Small adjustments change how products feel and perform.
Timing windows that boost results
Apply hydration on damp skin within a minute of cleansing. Seal with moisturizer while skin still feels slightly dewy. At night, finish heavier areas last so you don’t overload where you tend to clog.
Clean tool discipline
Swap washcloths and towels often. Wash mixing bowls and spoons with hot soapy water; air-dry completely. Make masks in tiny, single-use batches and refrigerate if you step away. Label jars you plan to keep for a day. If texture, smell, or color changes, discard.
Five-minute face massage (numbered)
- Clean hands; apply a slip layer (aloe gel or your moisturizer).
- Glide knuckles from chin to ear in small arcs three times each side.
- Use fingertips to trace small circles beside the nose up to the temples.
- Smooth forehead from center outward with flat fingers, three passes.
- Finish with gentle ear-to-collarbone strokes to encourage relaxation. Keep pressure light; you’re moving surface tissues, not sculpting bone.
Shower and sink habits
Hot showers can strip skin. Keep water warm, not hot. Wash the face at the sink with lukewarm water if you love long showers. Pat—don’t rub—dry. A single paper towel pressed to lashes prevents drips that dilute your next step.
Seasonal switches
In humid summers, reduce occlusives and lean on gels. In dry winters, add a drop of squalane or press a richer layer into cheekbones. Watch how your skin feels by mid-afternoon; adjust that night, not next week.
Makeup pairing without pilling
Let moisturizer settle for a minute, then apply sunscreen. Wait another minute before makeup. If pilling occurs, use less product per layer or switch the order of thin-to-thick textures.
Safety, Patch Testing, and When to See a Pro
The best routine is safe for you. A quick test and clear limits protect your progress.
Patch testing, simplified (numbered)
- Pick a discreet spot (jawline or behind ear).
- Apply a pea-sized amount of the new mix.
- Wait 15 minutes; note sensation.
- Rinse if burning or intense stinging occurs.
- If comfortable, use the product on a larger area next time.
Stop and reassess if you notice
Persistent burning, swelling, new hives, or sudden welts. Strip the routine back to cleanser, bland moisturizer, and SPF. Reintroduce later with shorter contact times.
Kitchen safety reminders
Use safe water for mists and rinses (boiled and cooled, distilled, or same-day tap for wash-off only). Refrigerate short-term mixes; discard within 24 hours unless your base is a preserved, store-bought product. Don’t share jars or spoons between people when someone is ill.
Affordable pro moves worth the money
Daily sunscreen you love; a gentle, fragrance-free moisturizer; and, if goals include texture or breakouts, a single, labeled active like adapalene or azelaic acid. These pair beautifully with DIY comfort steps. If deeper concerns persist, a clinician can guide retinoids, peels, or light treatments tailored to your skin.
Mindset: progress over perfection
A skipped night doesn’t erase gains. Return to the basics at the next wash. Track small wins: fewer tight spots, calmer cheeks, makeup that sits better, or less midday shine. Those prove your routine works—even without a luxury price tag.
Frequently Asked Questions
Is DIY skincare really better than expensive products?
It can be. Simple, repeatable steps that hydrate, seal, and lightly renew often outperform complex routines—especially if pricier options irritate you.
Can I make my own sunscreen to save money?
No. Sunscreen requires lab testing for protection. Use a store-bought SPF you’ll apply generously every morning, and keep DIY for masks and comfort.
How fast will I see results with these recipes?
Hydration and surface calm show within minutes. Texture and tone improve over 1–3 weeks with consistent, gentle care and daily sunscreen.
Are kitchen acids like lemon safe for brightening?
Skip them. Lemon, vinegar, and strong DIY acids can burn and darken skin later. Choose buffered yogurt masks or labeled, gentle store-bought actives instead.
What should I do if my skin gets irritated?
Stop exfoliation and masks for a week. Use a bland moisturizer, SPF, and, if comfortable, a drop of squalane on dry spots. Restart later with shorter contact times.