Want a DIY mask that helps fade acne scars’ look fast? In minutes, gentle acids, soothing humectants, and calm massage boost brightness. This guide shares a safe recipe, quick routine, and prevention steps so texture softens and spots appear lighter—without harsh scrubs or risky hacks today.
In this blog you’ll read about:
- Acne Scars 101: Types, What Changes Fast vs Slow
- The DIY Mask That Works: Ingredients, Ratios, and Why
- Safe 10-Minute Protocol: Prep, Apply, Massage, Rinse
- Variations for Oily, Dry, and Sensitive Skin
- Daily Habits That Prevent New Marks and Boost Results
- Mistakes to Avoid and Patch-Testing Guide
- When Home Care Isn’t Enough: Professional Options and Safety
Acne Scars 101: Types, What Changes Fast vs Slow
“Acne scars” can mean true scars that change skin shape and color marks that linger after a breakout. Knowing which you have sets expectations and helps you pick safe steps that work quickly. The DIY mask in this guide can brighten and smooth the look of marks and texture, but deep structural scars usually need time and, sometimes, professional care.
Color marks vs. shape changes
Post-inflammatory hyperpigmentation (PIH) looks brown or tan. Post-inflammatory erythema (PIE) looks pink or red. These are color issues on otherwise smooth skin. True atrophic scars change shape: icepick (tiny narrow pits), boxcar (sharper edges), and rolling (wavy depressions). Color often responds faster to home care than shape.
What can change in minutes
You can lift dulling film, soften rough edges, and boost light reflection. Hydrating, gently exfoliating, and smoothing the surface makes spots look lighter and texture look calmer immediately after rinsing. That is your “fast” win.
What takes weeks
Pigment pathways fade gradually. Even with smart habits and sunscreen, brown marks can take weeks to months to lighten. Redness may settle as the skin’s small vessels calm. Be patient and consistent; avoid new breakouts that restart the clock.
When fast backfires
Harsh scrubs, lemon juice, undiluted essential oils, and high-pH DIY mixes can inflame skin and darken marks. The trick is not force—it’s chemistry, hydration, and timing. Small, gentle steps deliver repeatable wins without setbacks.
How the mask helps
Lactic acid from yogurt loosens the “glue” between surface cells. Honey and aloe draw water in and soothe. Finely milled oats cushion the mix and reduce sting. Together they brighten immediately and prime skin for your daily sunscreen and routine.
Who benefits most
Fresh post-breakout marks, mild roughness, and uneven glow respond quickly. If you have active, open acne or a compromised barrier, pause masking until lesions heal; treat breakouts gently first and protect with sunscreen.
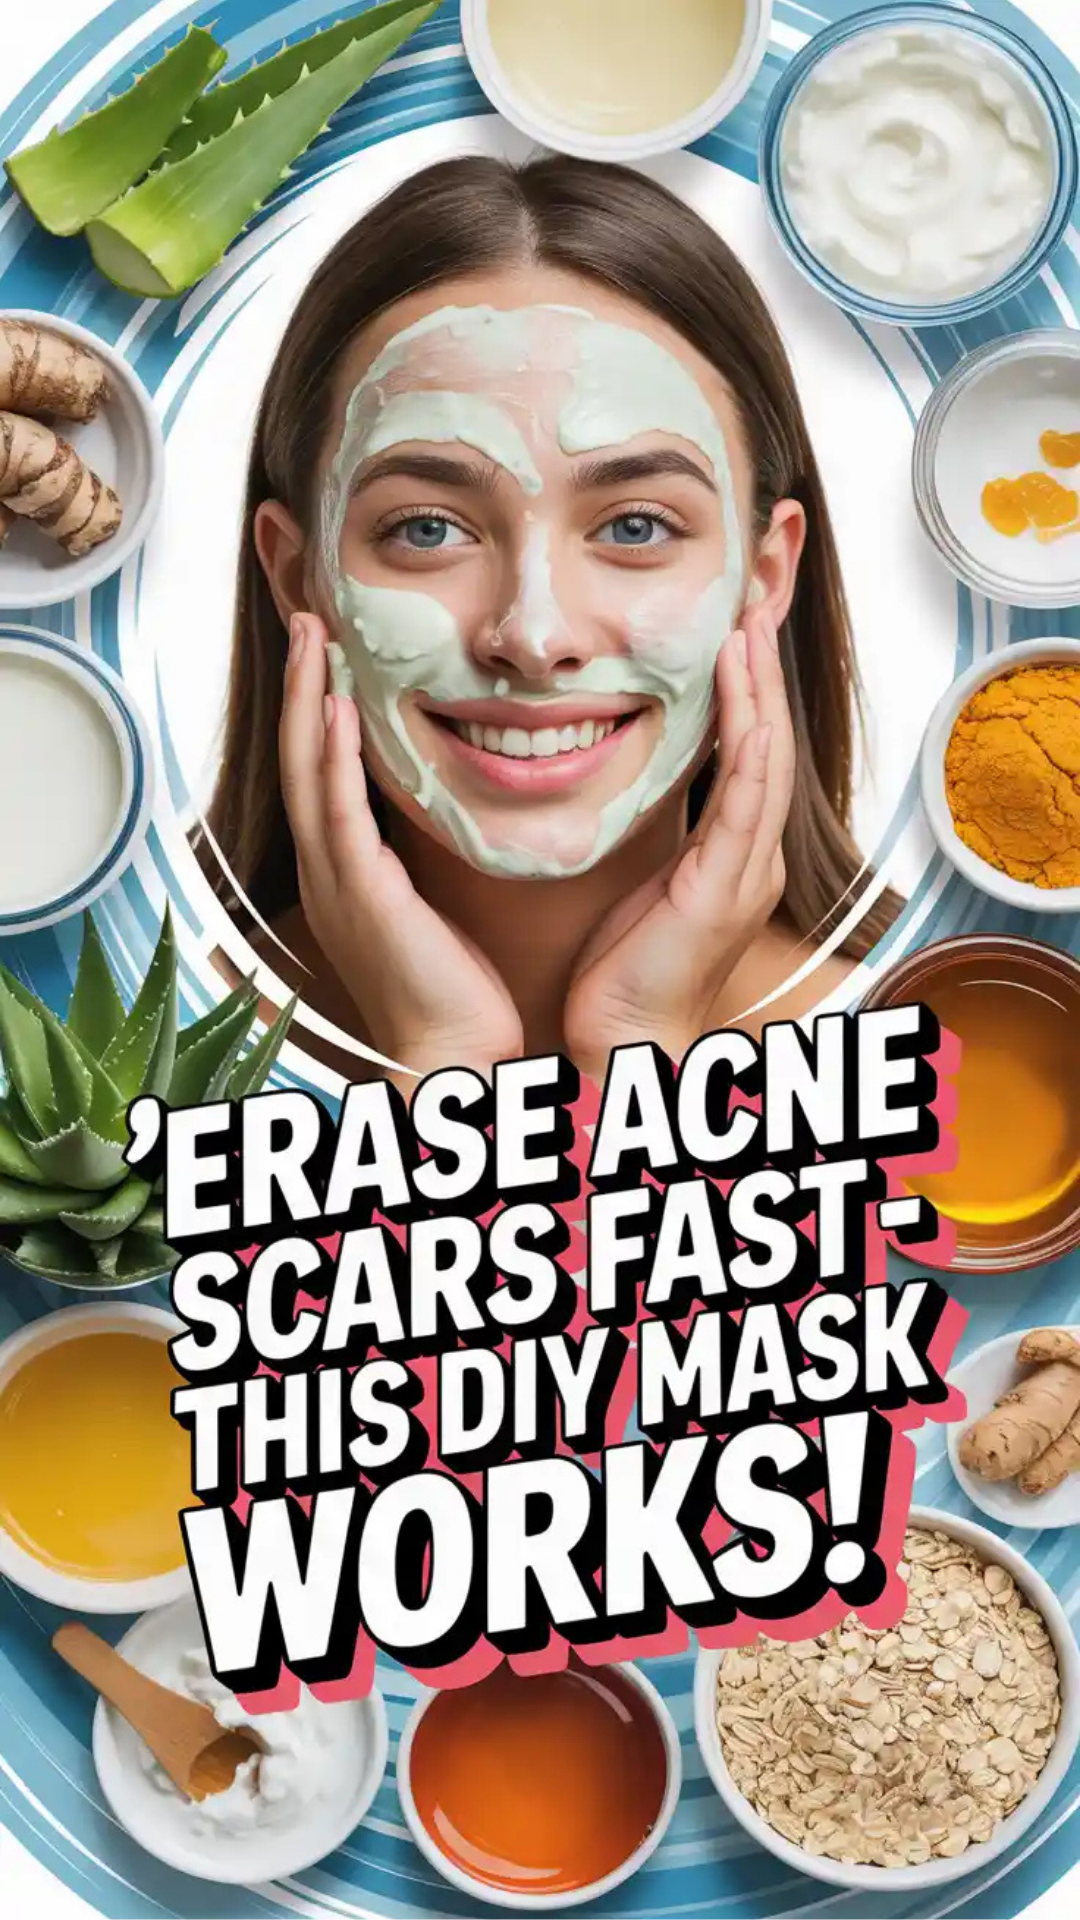
The DIY Mask That Works: Ingredients, Ratios, and Why
This recipe focuses on gentle chemistry and skin comfort. You’ll enrich common, well-tolerated kitchen and pharmacy items in ratios that lift dullness without burning or scrubbing.
Core ingredients (single-use bowl mix)
- Plain, unsweetened yogurt (1 tbsp): low-level lactic acid for gentle exfoliation and immediate smoothness
- Raw honey (1 tsp): humectant that draws water in and softens look of fine texture
- Pure aloe vera gel, dye-free (1 tsp): soothing, light hydration that calms redness
- Colloidal oatmeal or very finely ground oats (½ tsp): cushions the mix and reduces irritation
- Green tea (1 tsp strong, cooled) or 3–4 drops glycerin: antioxidant support or extra hydration
Why these ratios are safe
The yogurt’s acidity is buffered by honey, aloe, and oats, creating a comfortable mask that acts quickly without stripping. The texture spreads thinly, so you use less pressure and rinse easily.
Optional, choose only one add-in
- Turmeric pinch (⅛ tsp) for warmth and glow; avoid if staining worries you
- Rice flour (½ tsp) if you prefer a silkier, oil-absorbing texture for very oily areas
- A pea-sized dollop of over-the-counter 2% niacinamide serum layered after rinsing—not mixed in the bowl—for brightening support
Ingredient quality tips
Use plain yogurt with live cultures if available; skip flavors and added acids. Pick a clear, fragrance-free aloe gel. Ensure oats are powdered enough to feel silky, not scratchy. Brew green tea strong and cool fully before adding.
Safety guardrails
Avoid lemon juice, vinegar, baking soda, salt, sugar, undiluted essential oils, and peroxide in DIY masks. These can irritate or alter pigment pathways and slow progress.
Safe 10-Minute Protocol: Prep, Apply, Massage, Rinse
This on-demand protocol is designed for visible brightness now and steady improvement later. It is gentle, quick, and repeatable.
- Clean hands and face with a mild, fragrance-free cleanser. Pat until just damp—not dripping.
- Mix your mask in a clean bowl. Aim for a yogurt-like consistency that spreads thinly without running.
- Apply a thin, even layer with clean fingers or a soft brush, avoiding open lesions and the immediate eye area.
- Set a timer for 5–7 minutes. During the wait, practice two slow nasal exhales to relax facial tension.
- For the final minute, do micro-massage with feather-light circles over cheeks and forehead. Skip vigorous rubs.
- Rinse with cool or lukewarm water until the slip is gone. Do not scrub; let water do most of the work.
- Press skin dry with a soft towel. Immediately apply a few drops of a bland moisturizer; if daytime, finish with broad-spectrum SPF 30+.
Why this timing works
Most of the brightening comes from water binding and gentle exfoliation in the first few minutes. Longer is not better; over-holding risks irritation that can darken marks.
Spot-target option
If you’re sensitive, treat only marked areas for 3–5 minutes and rinse. You can repeat more often without overworking the whole face.
A quick photo test
Take a before photo in the same light, then an after photo ten minutes later. You’ll often see smoother reflection along cheeks and less obvious edges around spots—useful motivation to be consistent.
Variations for Oily, Dry, and Sensitive Skin
Small tweaks match the mask to your current skin state, season, and climate.
Oily or breakout-prone days
- Keep yogurt 1 tbsp, honey ¾ tsp, aloe 1 tsp, rice flour ½ tsp, green tea 1 tsp
- Apply thinly to T-zone; leave cheeks lighter
- Rinse at 5 minutes; moisturize with a gel-cream
Dry or tight days
- Keep yogurt 1 tbsp, honey 1½ tsp, aloe 1½ tsp, oats ½ tsp, glycerin 3–4 drops
- Leave on for 6 minutes; skip massage if you feel any tug
- Seal with a cream moisturizer to hold water in
Sensitive or easily flushed
- Skip yogurt; use honey 1 tsp + aloe 2 tsp + oats 1 tsp
- Patch test on jaw for 15 minutes the first time
- Rinse cool at 5 minutes; press on a damp cotton compress for 30 seconds
Uneven tone focus
- Keep core recipe; after rinsing and drying, layer a 2–5% niacinamide serum or azelaic acid 10% product as tolerated (store-bought, not DIY)
- Always follow with sunscreen in the morning
Weekly rhythm ideas
Use the mask 2–3 times per week on nonconsecutive days. On other days, keep routine simple: cleanse, moisturize, sunscreen by day. Consistency beats intensity.
Daily Habits That Prevent New Marks and Boost Results
Your ten-minute mask shines when daily habits stop new marks from forming. Prevent breakouts, protect pigment pathways, and keep moisture steady.
Sunscreen is non-negotiable
UV and visible light deepen brown and red marks. Apply SPF 30+ daily, last step in the morning routine. Reapply during long outdoor time. Tinted mineral sunscreens can help mask redness and protect at the same time.
Hands-off rule
Touching, squeezing, or picking creates new injury and pigment. When the urge hits, press fingertips together or hold a cool pack over itchy zones for 30 seconds. This satisfies the impulse without trauma.
Gentle cleanse, steady moisture
Cleanse twice daily with a mild, pH-balanced product. Apply moisturizer while skin is damp to lock water in. Hydrated skin reflects light more evenly and looks smoother immediately.
Targeted leave-ons, not kitchen chemistry
Use store-bought actives with clear percentages and instructions (niacinamide, azelaic acid, adapalene if appropriate). Avoid mixing raw acids at home; unpredictable pH can inflame skin and worsen spots.
Breakout-smart makeup
Choose non-comedogenic formulas. Remove makeup fully every night. Consider a light, dewy base that bounces light; matte full-coverage can emphasize texture.
Sleep, stress, and screens
Sleep regularity and short breathing breaks reduce stress chemistry that drives breakouts. Lower screen brightness at night and raise devices to eye level to relax frown lines that make texture stand out.
Simple weekly checklist
- 2–3 mask sessions (gentle)
- Daily SPF 30+
- No picking
- Clean pillowcase twice weekly
- Hydration target: steady sips, not late-night chugs
- Log triggers and wins in one note
Food and hydration clues
Balanced meals with protein and colorful produce support repair. If dairy worsens your breakouts, trial a two-week pause and track results. Hydration keeps skin flexible and comfortable, lowering the urge to over-scrub.
Mistakes to Avoid and Patch-Testing Guide
Avoiding common pitfalls prevents setbacks and speeds visible progress.
Five avoid-at-all-costs moves
- Lemon juice or vinegar in masks: acid burn risk and rebound darkening
- Baking soda or salt scrubs: scratch enamel-like skin and inflame spots
- Undiluted essential oils: sensitization and irritation risk
- Toothpaste on pimples: drying agents can cause chemical burns
- Over-exfoliating: multiple acids or scrubs in one day slow healing
Patch-testing, simplified
- Mix a teaspoon of your mask.
- Apply to a jawline or behind-ear patch the size of a coin.
- Leave for 5 minutes; rinse and note sensation.
- Check the area at 1, 8, and 24 hours for rash, heat, or lingering sting.
- If clear, proceed to full-face timing; if not, tweak the recipe or skip masking.
If you overdo it
Pause masks and actives for 3–5 days. Use a barrier-first routine: cleanse, bland moisturizer, SPF. Add a cool compress for 1–2 minutes twice daily. When comfortable, reintroduce the mask version for sensitive skin.
When Home Care Isn’t Enough: Professional Options and Safety
Sometimes the fastest path is a targeted professional plan. Use this section to understand options, not to self-treat.
Good candidates for professional care
Deep or long-standing scars, widespread marks with frequent new breakouts, or a history of pigment shifts after minor irritation benefit from professional evaluation.
What clinicians may consider
- Prescription topicals: retinoids, azelaic acid, hydroquinone for limited, supervised courses
- Procedures: gentle chemical peels, microneedling, lasers, or subcision for specific scars
- Plan design: tackle breakouts first, then discoloration, then texture
How to talk to your clinician
Bring a one-page note: your breakout history, what aggravated skin, what calmed it, products used, and photos. Ask about expected timelines, sun care, and how to combine pro treatments with your gentle home routine.
Budget-minded approach
Start with consistent sunscreen, a simple moisturizer, and one proven leave-on (e.g., niacinamide or azelaic acid) before considering procedures. Many people see strong improvement from this trio plus the DIY mask routine.
Safety reminders
Avoid any clinic that pushes extreme peels or unlabelled “cocktails.” Insist on aftercare instructions and sun protection guidance. Your skin’s future glow depends on today’s caution.
Frequently Asked Questions
Can a DIY mask really erase acne scars fast?
A DIY mask can quickly brighten and smooth the look of marks. True structural scars fade more slowly and may need professional options.
How often can I use this mask?
Two to three times per week is plenty. More isn’t better; overdoing it can inflame skin and darken spots.
Will turmeric stain my skin?
A pinch may leave a temporary tint on very fair skin. If worried, skip it or keep it for nighttime and rinse thoroughly.
What if I have active pimples right now?
Avoid masking over open lesions. Treat breakouts gently, then resume the mask on healed areas to prevent new marks.
Do I need sunscreen if I only mask at night?
Yes. Sunscreen by day protects progress and prevents marks from deepening, even if your mask is only used at night.